A step-by-step tutorial: How to Submit to the HubSpot Forms API with JavaScript
This tutorial will walk you through how to submit to the HubSpot Forms API using Javascript. It will use vanilla JS (i.e. no libraries or frameworks) and will provide example code. It will assume that you are familiar with HubSpot, HubSpot Forms, and that the HubSpot Tracking Code is on the page.
Upon completing this tutorial, consider taking this a step further by implementing this same functionality using a front end JS framework like Vue.js, which makes working with returned form data significantly easier.
Note: there are many, many ways to do what this walkthrough will show, this is but one way.
The highlevel steps you will follow include:
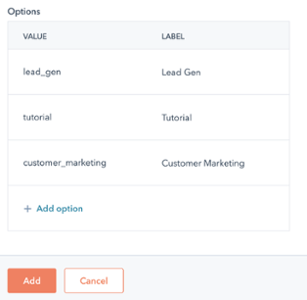
- Create a form in HubSpot as way to ‘accept’ a form submission
- Create a HubSpot custom module to house your form HTML and javascript
- Add code to your module step by step
- Test and submit!
Troubleshooting note: as you work through this tutorial, if you run code and hit errors, view the JS consolel, and add console.log() statements to output data at different steps.
Create a HubSpot Form
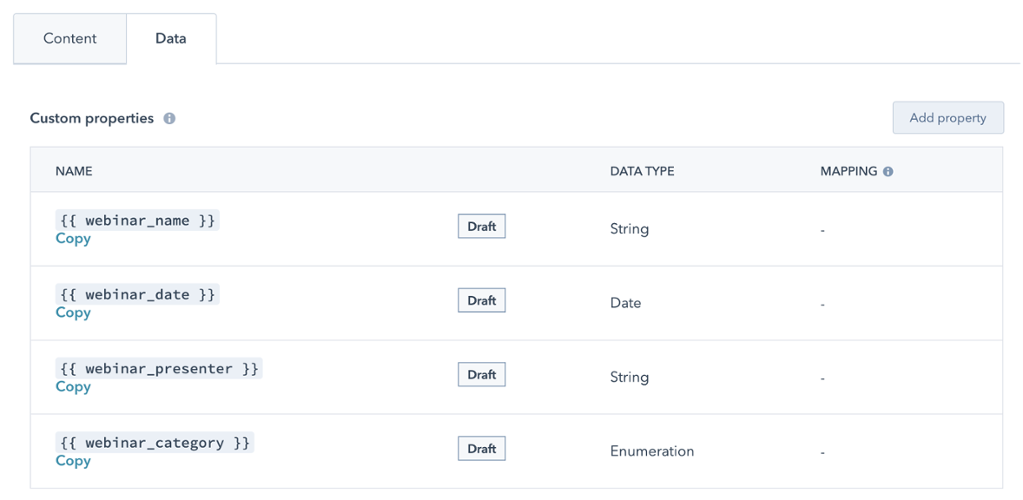
This is pretty straightforward. In HubSpot, create a form and add a few fields to it. Recommended fields include:
- First name (name: firstname)
- Last name (name: lastname)
- Email (name: email)
- State (name: state)
- Notes (name: message)
Make note of the ‘database’ names of these fields, the 5 fields above have these listed. (The JS code will take whatever the ‘name’ attribute of a form field is and try to submit to a HubSpot field of the same database name. So, if you want to submit other fields, manually add them to the HTML form in the next step).
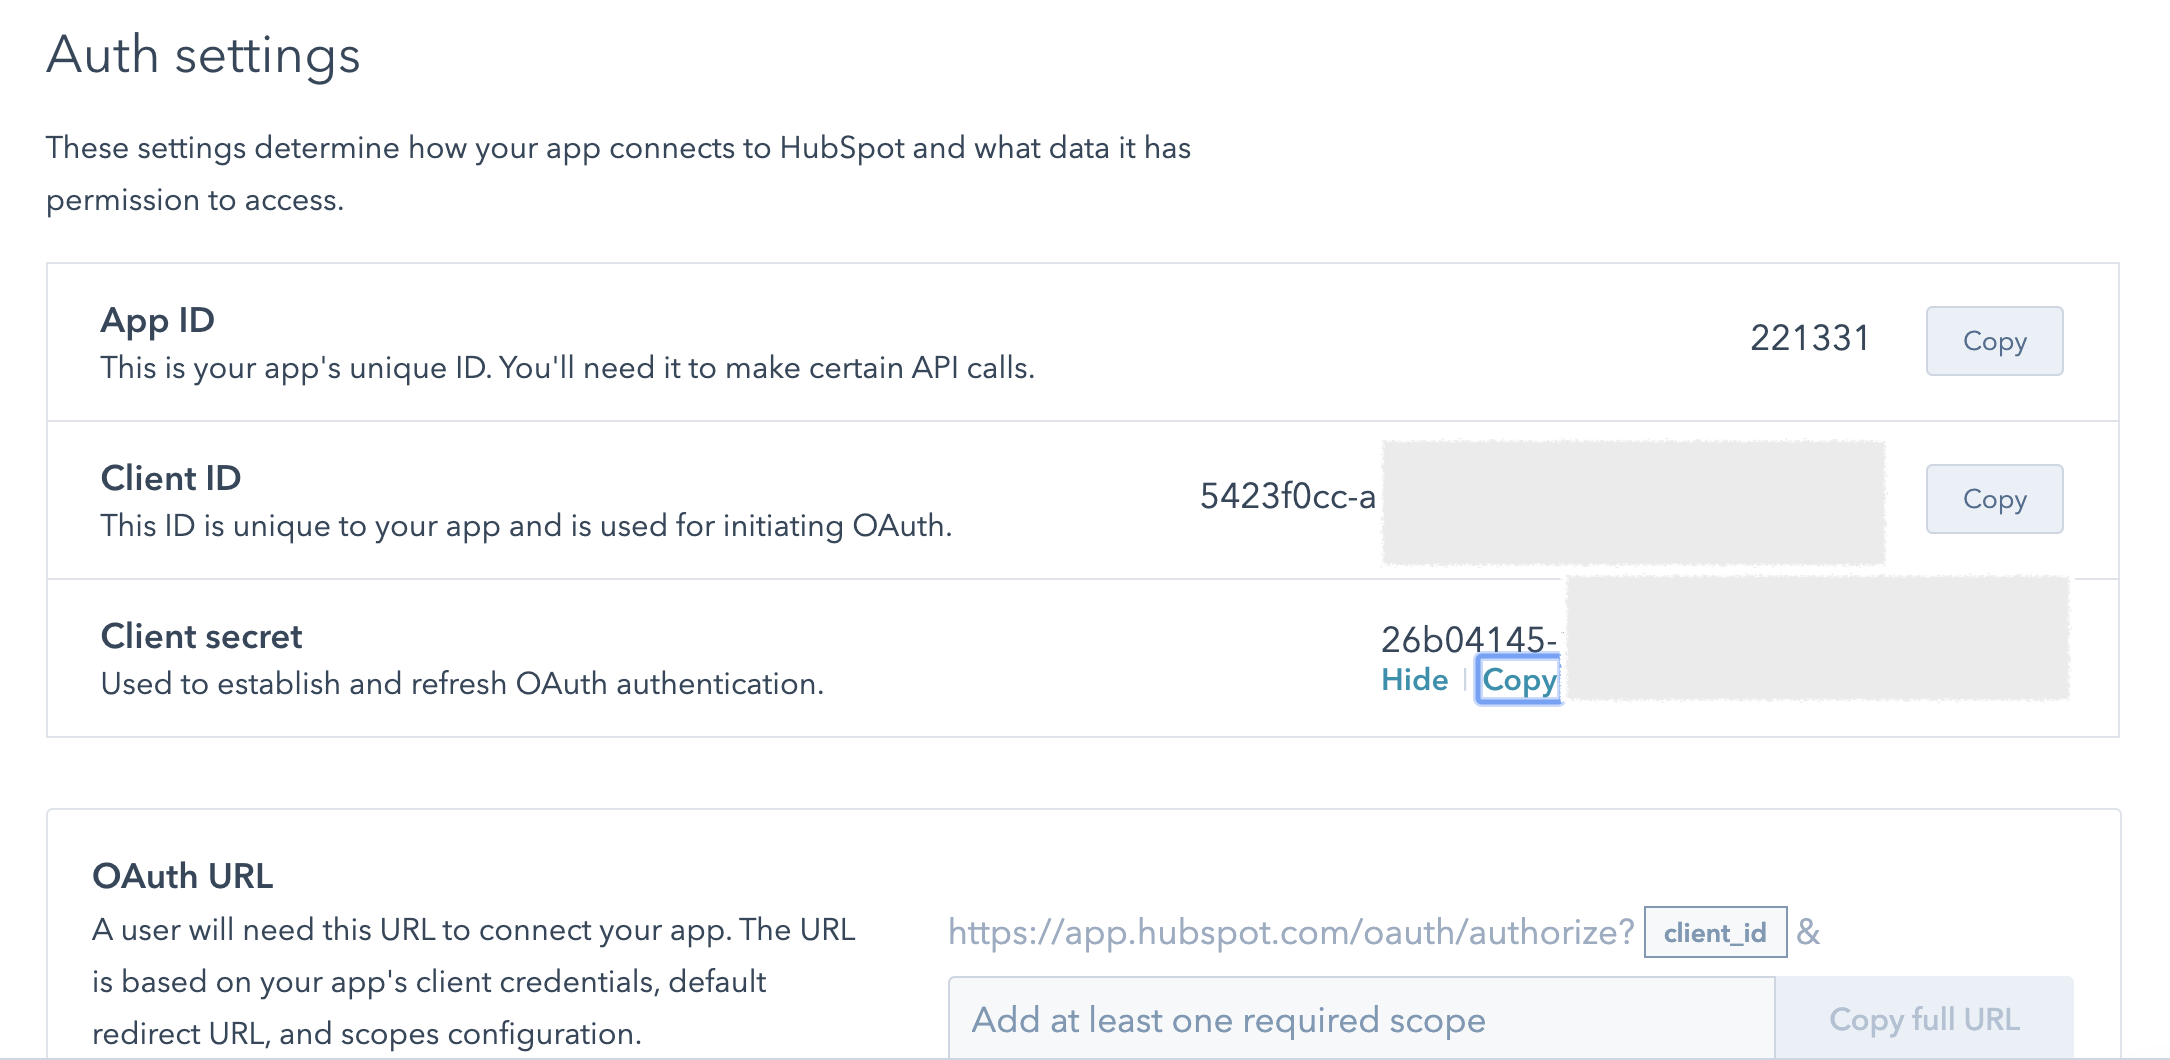
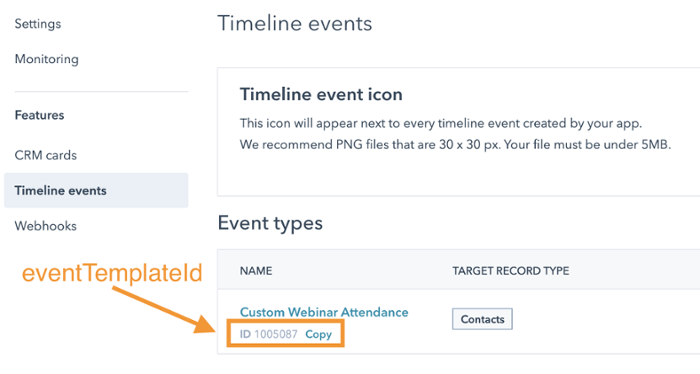
Next, make note of the form GUID - it’s the long string in the URL. Save that for later.
Create a custom module
Navigate to the HubSpot Design Manager and create a new custom module. Make the module for use in pages and blogs, but not emails.
Now, let’s create a basic form.
In the HTML + HuBL section of the custom module, add the following basic form HTML:
<form method="POST" id="custom-form">
    <input type="text" name="firstname" placeholder="First Name">
    <input type="text" name="lastname" placeholder="Last Name">
    <input type="text" name="email" placeholder="Email">
    <select name="state" placeholder="State">
        <option>Massachusetts</option>
        <option>California</option>
    </select>
    <textarea name="message" placeholder="Your Message"></textarea>
    <input type="submit" value="Submit Form">
</form>
<div id="thankyou"></div>
In the above form, note the field types, the ‘name’ attributes of the fields, and the submit button.
Next, let’s add the bulk of the functionality with javascript.
This code uses the HubSpot Forms API endpoint documented here.
Before diving into the code, let’s breakdown the necessary steps to properly submit a form to HubSpot:
- Get all fields values from the HTML form
- For each form field, transform the key/value pair data into the JSON format expected by the HS Forms API
- Get browser cookies and grab the value of the HubSpot tracking cookie, named
hubspotutk - Create a
contextobject in the JSON to be submitted that includes thehubspotutk, the page URL and page name - If we were to be GDPR compliant, build a legal consent section for permission to process data and sign up for email subscriptions (this tutorial is skipping this step)
- Create an event listener that listens for a form
submitevent, and then submits the form via an AJAX request (using the Fetch API in our case)
As we proceed, most of these steps are broken down into several functions to allow for better code portability. Some functions call previous functions, so these might not necessarily work independently. Copy and paste the following code as we move through these steps, and read the code, understanding the gist of each step.
- Get all field values from the HTML form
function formFieldsToHSJSON(form) {
    let fieldArray = [];
    let formData = new FormData(form);
    for (let field of formData) {
        let values = {
            "name": field[0],
            "value": field[1]
        }
        fieldArray.push(values)
    }
    return fieldArray;
}
This code expects a form field element as an argument, then iterates every field, building JSON in the field formatting expected by the HubSpot Forms API. It returns data like this:
[{"name":"firstname","value":"Your Name"}]
In our later usage, it will be used like this (don’t copy/paste this yet):
var form = document.querySelector('#custom-form')
formFieldsToHSJSON(form)
- Next, let’s add a helper function to get browser cookies by name. Copy/paste:
function getCookie(name) {
    var value = "; " + document.cookie;
    var parts = value.split("; " + name + "=");
        if (parts.length == 2){
            return parts.pop().split(";").shift();
        }
};
This function will be used like:
var hubspotUtk = getCookie('hubspotutk')
- Let’s use this function in our next function - one to actually build the
contextobject in the eventual form submission data. Copy/Paste this function
function buildHSContext() {
    let hsContext = new Object()
    hsContext.hutk = getCookie('hubspotutk');
    hsContext.pageUri = window.location.href;
    hsContext.pageName = document.title;
    return hsContext
}
This function returns an Object and uses the getCookie function, and also grabs the page title and page URL.
- Now let’s add a function that prepares all of the submission object data that the form will submit. This function combines and calls all of the other functions so far! Notice how it creates a new Object, then adds object keys for the submission Date, the field data, and the
contextobject.
function prepareHSFormSubmission(form) {
    var submissionData = new Object()
    submissionData.submittedAt = Date.now()
    submissionData.fields = formFieldsToHSJSON(form)
    submissionData.context = buildHSContext()
    return submissionData
}
- Next up - there are multiple ways to make an HTTP request from the browser, and one of the more modern ways is using the
fetchAPI. Learn about fetch. Note: Fetch has NO browser support in IE, but is supported in Edge. Oh well. If you wanted better cross browser compatibility, you could implement this usingXMLHttpRequest, but this tutorial isn’t.
This handy function makes it slightly easier to use Fetch for POST reqeusts (thanks Mozilla MDN!)
Copy/paste it to your module!
async function postData(url = '', data = {}) {
    // Default options are marked with *
    const response = await fetch(url, {
        method: 'POST', // *GET, POST, PUT, DELETE, etc.
        mode: 'cors', // no-cors, *cors, same-origin
        cache: 'no-cache', // *default, no-cache, reload, force-cache, only-if-cached
        credentials: 'same-origin', // include, *same-origin, omit
        headers: {
            'Content-Type': 'application/json'
             // 'Content-Type': 'application/x-www-form-urlencoded',
        },
        redirect: 'follow', // manual, *follow, error
        referrerPolicy: 'no-referrer',
        body: JSON.stringify(data) // body data type must match "Content-Type" header
        });
    return response.json() // parses JSON response into native JS objects
    }
- For the final function, this will be used to actually submit the data. It calls the postData\ function from above, then, takes the inline thankyou message and puts that message in an element with ID
thankyouCopy/paste this code:
function submitHSForm(hsFormURL, data) {
    postData(hsFormURL, data).then(data => {
        if(data.inlineMessage){
            // Set an inline thank you message
            document.querySelector("#thankyou").innerHTML = data.inlineMessage
        }
});
}
- That’s it for defining the functions. Now, let’s put those functions to work! Add all of the code below, customizing for your HubSpot portalID and your form GUID. Read the code comments for more detail. Copy/paste, then edit!
var form = document.querySelector('#custom-form') //alter for your forms ID or CSS selector
form.addEventListener('submit', function (event) {
    event.preventDefault();
    var baseSubmitURL = 'https://api.hsforms.com/submissions/v3/integration/submit'
    // Add the HubSpot portalID where the form should submit
    var portalId = 'YOUR-HUBSPOT-PORTAL-ID'
    // Add the HubSpot form GUID from your HubSpot portal
    var formGuid = 'd9afc0c5-xx-yy-zz'
    var submitURL = `${baseSubmitURL}/${portalId}/${formGuid}`
    var formData = prepareHSFormSubmission(form);
    submitHSForm(submitURL, formData)
});
It does 6 things:
- Grabs the form element and all nested inputs via
document.querySelector. You can edit the#custom-formto be a different selector if you altered the form ID. - Creates an event listener that waits for a
submitevent on the form element from the code defined in the previous step - On submit, it ‘prevents default’ - the native behavior of a form submision is to redirect the browser through the submission URL. This is stopped so that the user stays on the same web page and just gets the inline thank you message. This is a common thing to do when working with AJAX form submissions.
- Creates a set of variables for the submission URL, the HubSpot Form GUID, and the portal ID
- Then, prepares all of the Form data by calling the
prepareHSFormSubmissionfunction, which returns the JSON body to make the API call. Remember that this function does several things - gets the form field data, transforms it, gets the HubSpot usertoken cookie value - Runs the
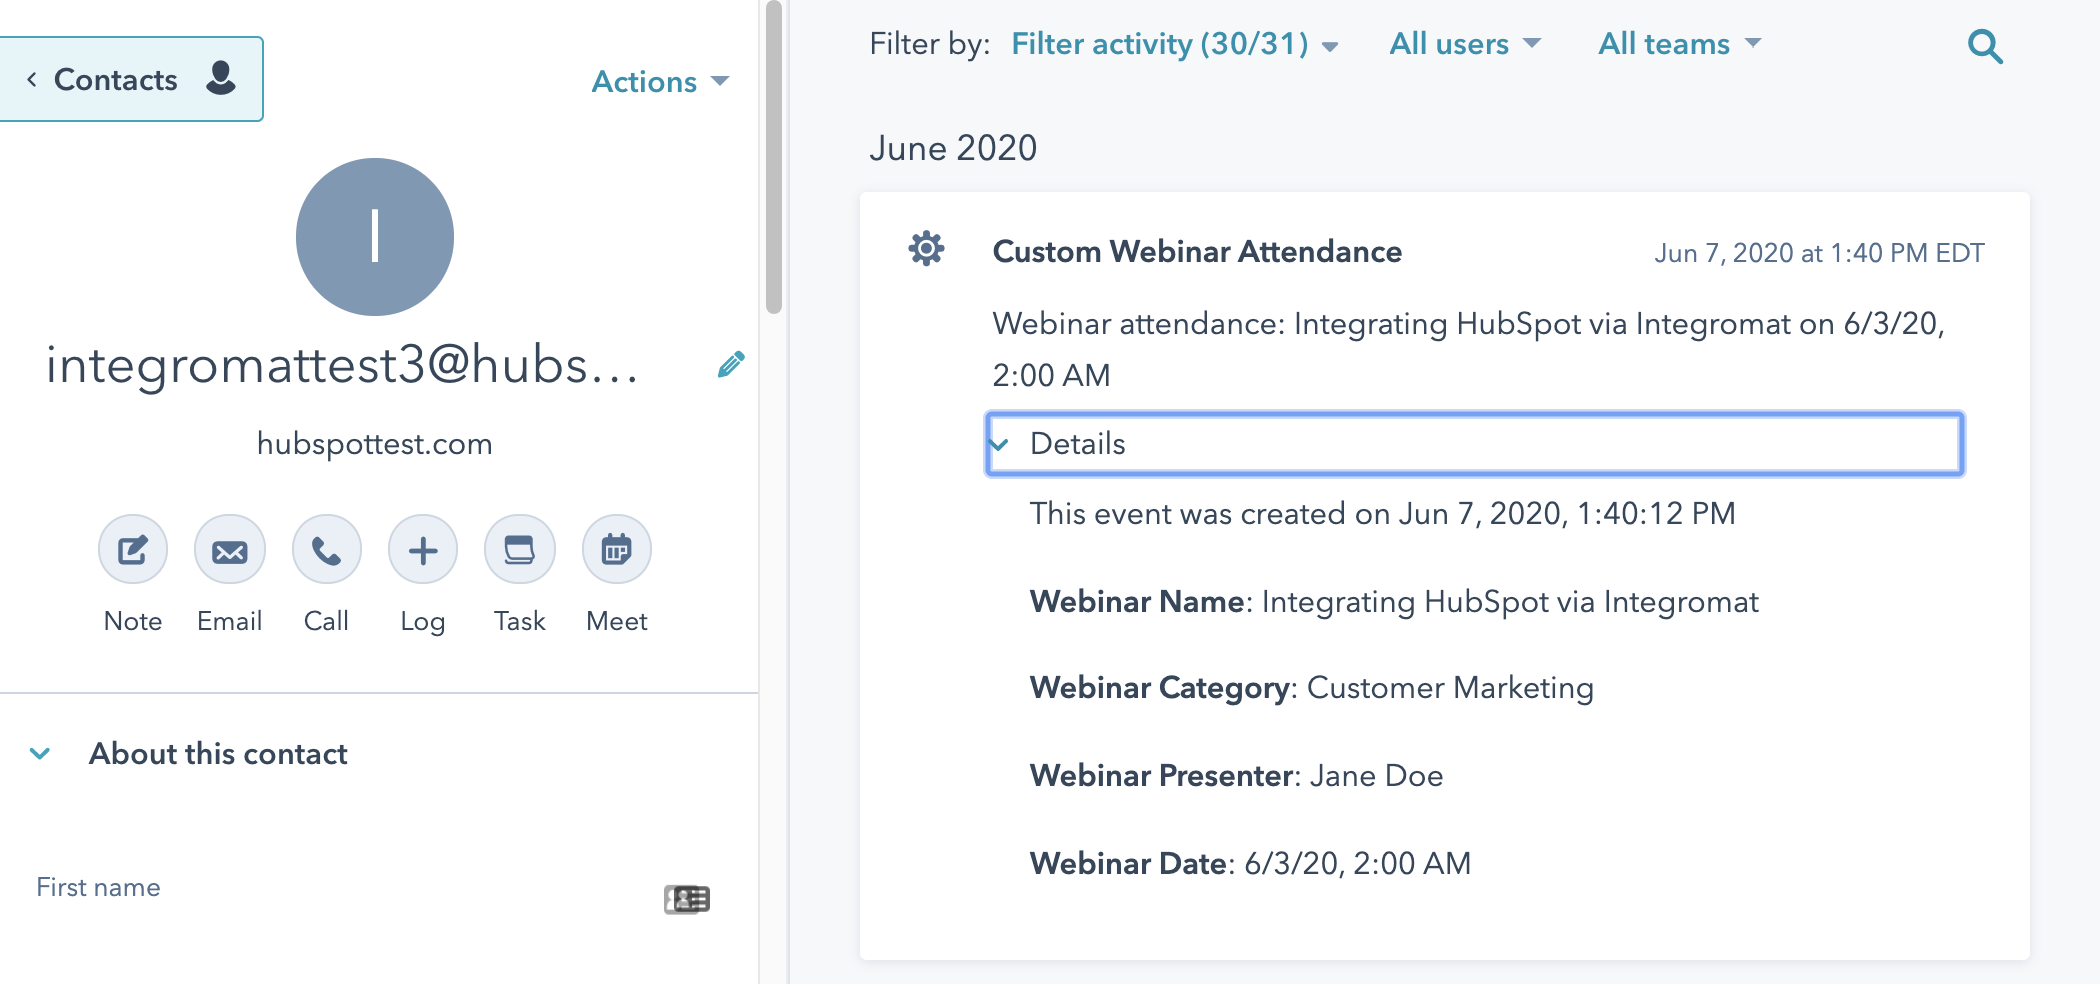
submitFormfunction, POSTing data to the Forms API, once there is a successful submission, the Thank you message is returned and rendered on the page.
Now, save your custom module, add it to a page, and submit the form to test the submission!
 Note: the screenshot alters the ‘limit’ parameter, for this exercise, choose a limit larger than 3


 .
.